North Indian
Moong Dal Cheela
- Time
- 20 min
- Level
- Easy
- Base
- 3 servings
Cooking for
3 people
The method
Step by step
Written for first-time cooks — every quantity, timing and cue is spelled out.
- 01
Prep - Soaking Dal & Gathering Tools
First, measure 1 cup (200g) of yellow moong dal. Place it in a large mixing bowl. Add enough water to cover the dal by at least 2 inches (about 2 cups of water) and let it soak for exactly 2 hours. While the dal is soaking, gather all your tools: a blender, non-stick tawa, spatula, ladle, small knife, cutting board, and measuring spoons.
- 02
Prep - Ginger & Chilli
After 2 hours, the moong dal will look plumper. Drain all the soaking water from the dal using a colander. Peel the 1-inch piece of ginger and roughly chop it. Take 1 green chilli; you can deseed it by carefully slicing it open and scraping out the seeds with the tip of your knife if you prefer less spice, then roughly chop it.
- 03
Grinding the Batter
Transfer the soaked and drained moong dal, chopped ginger, and chopped green chilli into your blender jar. Add 1/2 cup (120ml) of fresh water. Blend until you get a smooth, thick batter, like pancake batter. You might need to scrape down the sides of the blender jar with a spatula a couple of times. This should take about 2-3 minutes.
- 04
Adjusting Batter Consistency
Pour the batter into a clean mixing bowl. The batter should be thick but pourable. If it's too thick, add water, 1 tablespoon at a time, and mix well until it reaches a consistency similar to dosa or pancake batter. It should not be watery, but thick enough to coat the back of a spoon.
- 05
Seasoning the Batter
Add 1 teaspoon of salt to the batter. Finely chop 2 tablespoons of fresh coriander leaves and add them to the batter. Mix everything together thoroughly with a spoon until the salt and coriander are evenly distributed. Taste a tiny bit of the batter (raw dal batter is safe to taste) to check for salt and adjust if needed.
- 06
Heating the Tawa
Place your non-stick tawa (griddle) on the stove over medium heat. Let it heat up for about 2-3 minutes. To check if it's hot enough, sprinkle a few drops of water on the tawa; they should sizzle and evaporate quickly. If they just sit there, the tawa isn't hot enough yet. If they evaporate instantly with a loud hiss, it's too hot, so reduce the flame slightly.
- 07
Making the First Cheela
Once the tawa is hot, reduce the flame to medium-low. Lightly grease the tawa with about 1/2 teaspoon of cooking oil, spreading it with a paper towel or a brush. Pour one ladleful (about 1/4 cup) of batter onto the center of the tawa. Immediately, use the back of the ladle to gently spread the batter outwards in a circular motion to form a thin, round pancake (about 6-7 inches in diameter).
- 08
Cooking the First Side
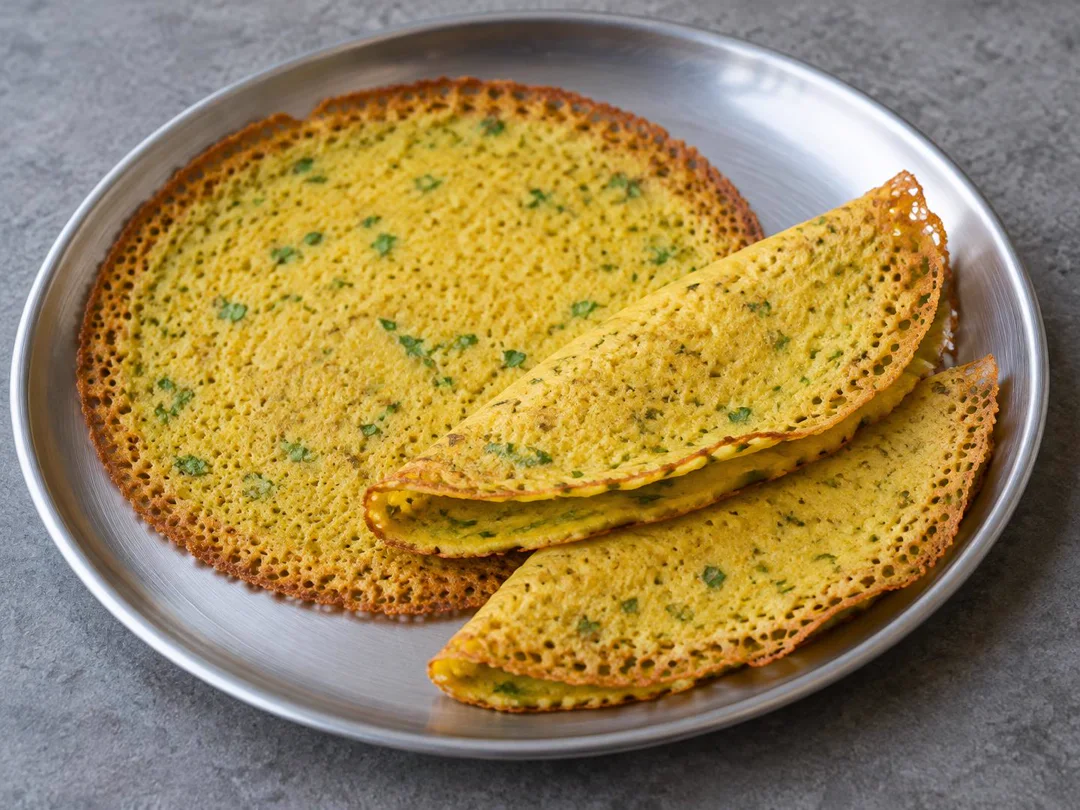
Increase the flame back to medium. Drizzle about 1 teaspoon of oil around the edges of the cheela. Let it cook for about 2-3 minutes. You will see the edges start to lift and the top surface will look dry and firm. The bottom should be light golden brown. Use your spatula to gently lift an edge and peek underneath.
- 09
Flipping and Cooking Second Side
Once the bottom is golden brown, carefully slide the spatula under the cheela and flip it over. Drizzle another 1/2 teaspoon of oil around the edges. Cook the second side for about 1-2 minutes, until it also turns golden brown and feels cooked through. Press gently with the spatula to ensure even cooking.
- 10
Serving
Once both sides are cooked and golden, remove the cheela from the tawa and place it on a plate. Repeat the process for the remaining batter, making sure to lightly grease the tawa before each new cheela if it looks dry. You should get about 6-7 cheelas from this batter. Serve hot with chutney or pickle.